
How To Hang A Door?
Hanging a door looks simple until the latch will not meet, the top corner rubs or the door slowly swings open by itself. The hinges may only need a few screws, but getting the door to sit neatly inside an imperfect opening takes accurate cutting and an understanding of how timber, frames and hardware work together.
At Skyline Concepts, we have spent more than 15 years working across carpentry in Perth. That experience has taught us that the best door installations are decided before the hinges are fitted. You first need to determine whether the door, frame or surrounding structure is causing the problem. Here is how we approach hanging a door, including several details that are often missed in basic DIY guides.
Can You Hang A Door Yourself?
A confident DIYer can hang a standard internal door, particularly when replacing one with the same size. However, small errors quickly become visible. A hinge recess that is only slightly too deep can create a larger gap on the opposite edge, while removing too much timber is difficult to reverse.
Professional help is worthwhile when the frame is badly out of square or the door is solid timber, oversized, external or fire-rated. External doors involve security and weatherproofing, while fire-rated doors must meet specific requirements. Also check for electrical cables, plumbing and hazardous materials around older openings before starting.
Tools And Materials You Will Need
For a straightforward internal door installation, you will generally need:
- Tape measure, pencil and combination square
- A long spirit level or straightedge
- Timber wedges or packers
- Drill, bits and suitable screws
- A sharp chisel and mallet
- A block plane or power planer
- A circular saw or track saw for larger cuts
- Hinges and door hardware
- Padded supports or a door stand
- Eye, hearing and dust protection
Sharp tools are normally safer and more accurate. A dull chisel crushes the fibres around a hinge recess, while a blunt planer can tear the door edge.
Step 1: Inspect The Opening Properly
One of the most useful lessons from years of carpentry is to measure the opening as a shape, not merely as a height and width. Houses move, frames twist and floors are not always level. An opening might be 820mm wide at the top but only 816mm at the bottom.
Measure the width at the top, middle and bottom, followed by the height on both sides. Check the jambs and head with a level. You should also sight through the opening from the side. If one corner projects farther forward, the jambs may be out of wind—meaning they are not in the same plane. A door can appear to fit while closed but bind as soon as it swings.
This inspection tells you whether to shape the door to an existing opening or repair the frame first. Automatically planing a new door to match a badly distorted jamb can leave it looking crooked without addressing the real problem.
Step 2: Confirm The Swing Direction
Decide which way the door will open and which side will carry the hinges. Consider light switches, furniture, walkways and how people naturally enter the room. Do not assume the old direction remains the best choice, especially if a renovation has changed the layout.
Mark the top, bottom, hinge edge and closing edge. These reference marks prevent the surprisingly common mistake of trimming or rebating the correct measurement on the wrong side.
Step 3: Plan The Gaps
A door needs enough clearance to move without leaving gaps that look unfinished. For many internal doors, approximately 2mm to 3mm along the top and sides is a practical starting point. The required bottom gap depends on the floor finish, ventilation and whether the flooring changes between rooms.
Never set the bottom clearance from an unfinished subfloor without confirming the final height of carpet, underlay, tiles, hybrid flooring or transition strips. We have seen accurately fitted doors become unusable once the final floor goes down.
Perth’s dry summers and wetter winters also matter. Timber can move as moisture levels change, particularly when the edges are unsealed. The solution is not an oversized gap; it is sensible clearance combined with properly sealing every cut edge.
Step 4: Trim And Test-Fit The Door
Transfer the opening measurements to the door and allow for the planned gaps. Keep factory-finished edges where practical and avoid removing everything from one side. Before trimming a hollow-core door, check how much solid timber surrounds the core. Cutting too far can leave insufficient material for hinges or the latch.
Use a sharp plane for small adjustments and work in from the corners to avoid breaking the end grain. For larger cuts, score the line with a knife before sawing to reduce splintering of the door face.
A useful trade detail is to add a very slight bevel to the closing edge. The leading corner travels through a wider arc than the rear corner, so a subtle bevel creates swinging clearance without making the visible gap excessive when closed. Too much bevel will look obvious and complicate the latch installation.
Test-fit the door with packers before cutting the hinge recesses. Check the gaps from both sides. This is your last easy opportunity to correct its overall shape.
Step 5: Position The Hinges
When replacing an existing door, transfer the hinge positions directly rather than relying only on measurements from the top. Place the old and new doors together with their tops aligned, then use a square to transfer both edges of each hinge. This prevents several tiny measuring errors from accumulating.
For a new installation, the number and position of hinges depend on the door’s height, weight, construction and hardware specifications. Two may suit a light internal door, while solid, tall or heavy doors generally need three or more. A third hinge does more than prevent dropping; correctly positioned, it also helps resist the twisting force created by the door’s weight. Follow the manufacturer’s specifications rather than treating one layout as universal.
Step 6: Cut The Hinge Recesses
Trace around each hinge with a sharp pencil or marking knife. The recess should match the thickness of one hinge leaf. If it is too shallow, the hinge-side gap will be pushed open. If it is too deep, the door may bind against the jamb.
Score the outline, make several controlled chisel cuts across the waste, then remove thin layers. The base should be flat so the hinge is supported across its surface.
Hinge depth affects alignment differently at each position. If the gaps look uneven, do not deepen every recess. Read the margins first. A thin packer behind one hinge or a small correction to one mortice may straighten the door without disturbing the parts already sitting correctly.
Step 7: Fix And Temporarily Hang The Door
Drill pilot holes so the screws remain centred and do not split the door edge. Start with one screw per hinge and hang the door temporarily. You can then check its position before driving every screw home.
Use fixings suited to the door’s weight and the material behind the jamb. The short decorative screws supplied with some hinges are not always adequate structural fixings. On heavier doors, a longer screw through the top hinge into secure framing can add support. It should never be overtightened, however, as this can pull the jamb out of alignment.
Step 8: Let The Gaps Diagnose The Problem
Close the door slowly and study the margin around it. A tight upper corner on the latch side may indicate that the door has dropped, the top hinge is loose or the frame is out of square. A door that springs back near the closed position may be binding along the hinge edge. One that drifts open or shut by itself often points to a jamb that is out of plumb.
Do not automatically plane every rubbing door. First check that the hinge screws are tight, the hinges sit flat and the jamb is properly secured. Removing timber permanently treats the symptom even when a loose screw is the real cause.
Change one thing at a time, then test again. Multiple simultaneous adjustments make it difficult to identify what worked and can move the door too far in the opposite direction.
Step 9: Install The Handle And Latch
Once the door swings freely and the gaps are consistent, mark the handle height. Match nearby doors for a cohesive result. Use the hardware template and keep the drill square to the face.
Fit the latch, gently close the door and mark its actual meeting point on the jamb. The latch should enter the strike plate without lifting, slamming or firmly pushing the door. Do not use the strike plate to drag a poorly aligned door into place, as this places constant pressure on the latch and hinges.
Step 10: Seal Every Cut Edge
This important step is regularly overlooked. After trimming, planing or morticing a door, seal all exposed timber in accordance with its manufacturer’s requirements. That includes the top and bottom edges, not only the visible faces.
Unsealed timber absorbs and releases moisture faster, increasing the risk of swelling, bowing and coating failure. We pay particular attention to the underside of external and wet-area doors, where weather, cleaning water and damp floors can affect the timber. A door is not properly finished if it is left vulnerable after installation.
Common Door-Hanging Mistakes
Most problems do not result from one dramatic error. They come from several small inaccuracies adding together:
- Measuring the opening at only one point
- Cutting before confirming the finished floor height
- Ignoring jambs that are out of plane
- Removing too much from a hollow-core door
- Cutting hinge recesses too deep
- Driving screws without pilot holes
- Using the latch to disguise poor alignment
- Planing before checking for loose hinges
- Leaving trimmed edges unsealed
The best habit is to pause before each irreversible cut. Diagnosing and test-fitting take time early but avoid far more work later.
When Should You Call A Carpenter?
Contact a carpenter when the frame requires repair, the opening is seriously out of square, the door is unusually heavy or valuable, or compliance is involved. External doors, fire doors, cavity sliders, double doors and specialist hardware also benefit from professional installation.
At Skyline Concepts, we install doors as part of our broader carpentry work throughout Perth. Ben brings more than 15 years of carpentry, cabinetry and shopfitting experience to every project. That means we look beyond whether a door opens on installation day. We consider the frame, hardware, finish and how the door will perform over time.
A well-hung door should feel almost uneventful to use. It should swing smoothly, remain where it is left, close without force and show even gaps around the frame. Achieving that result is less about one clever trick and more about careful observation at every stage.
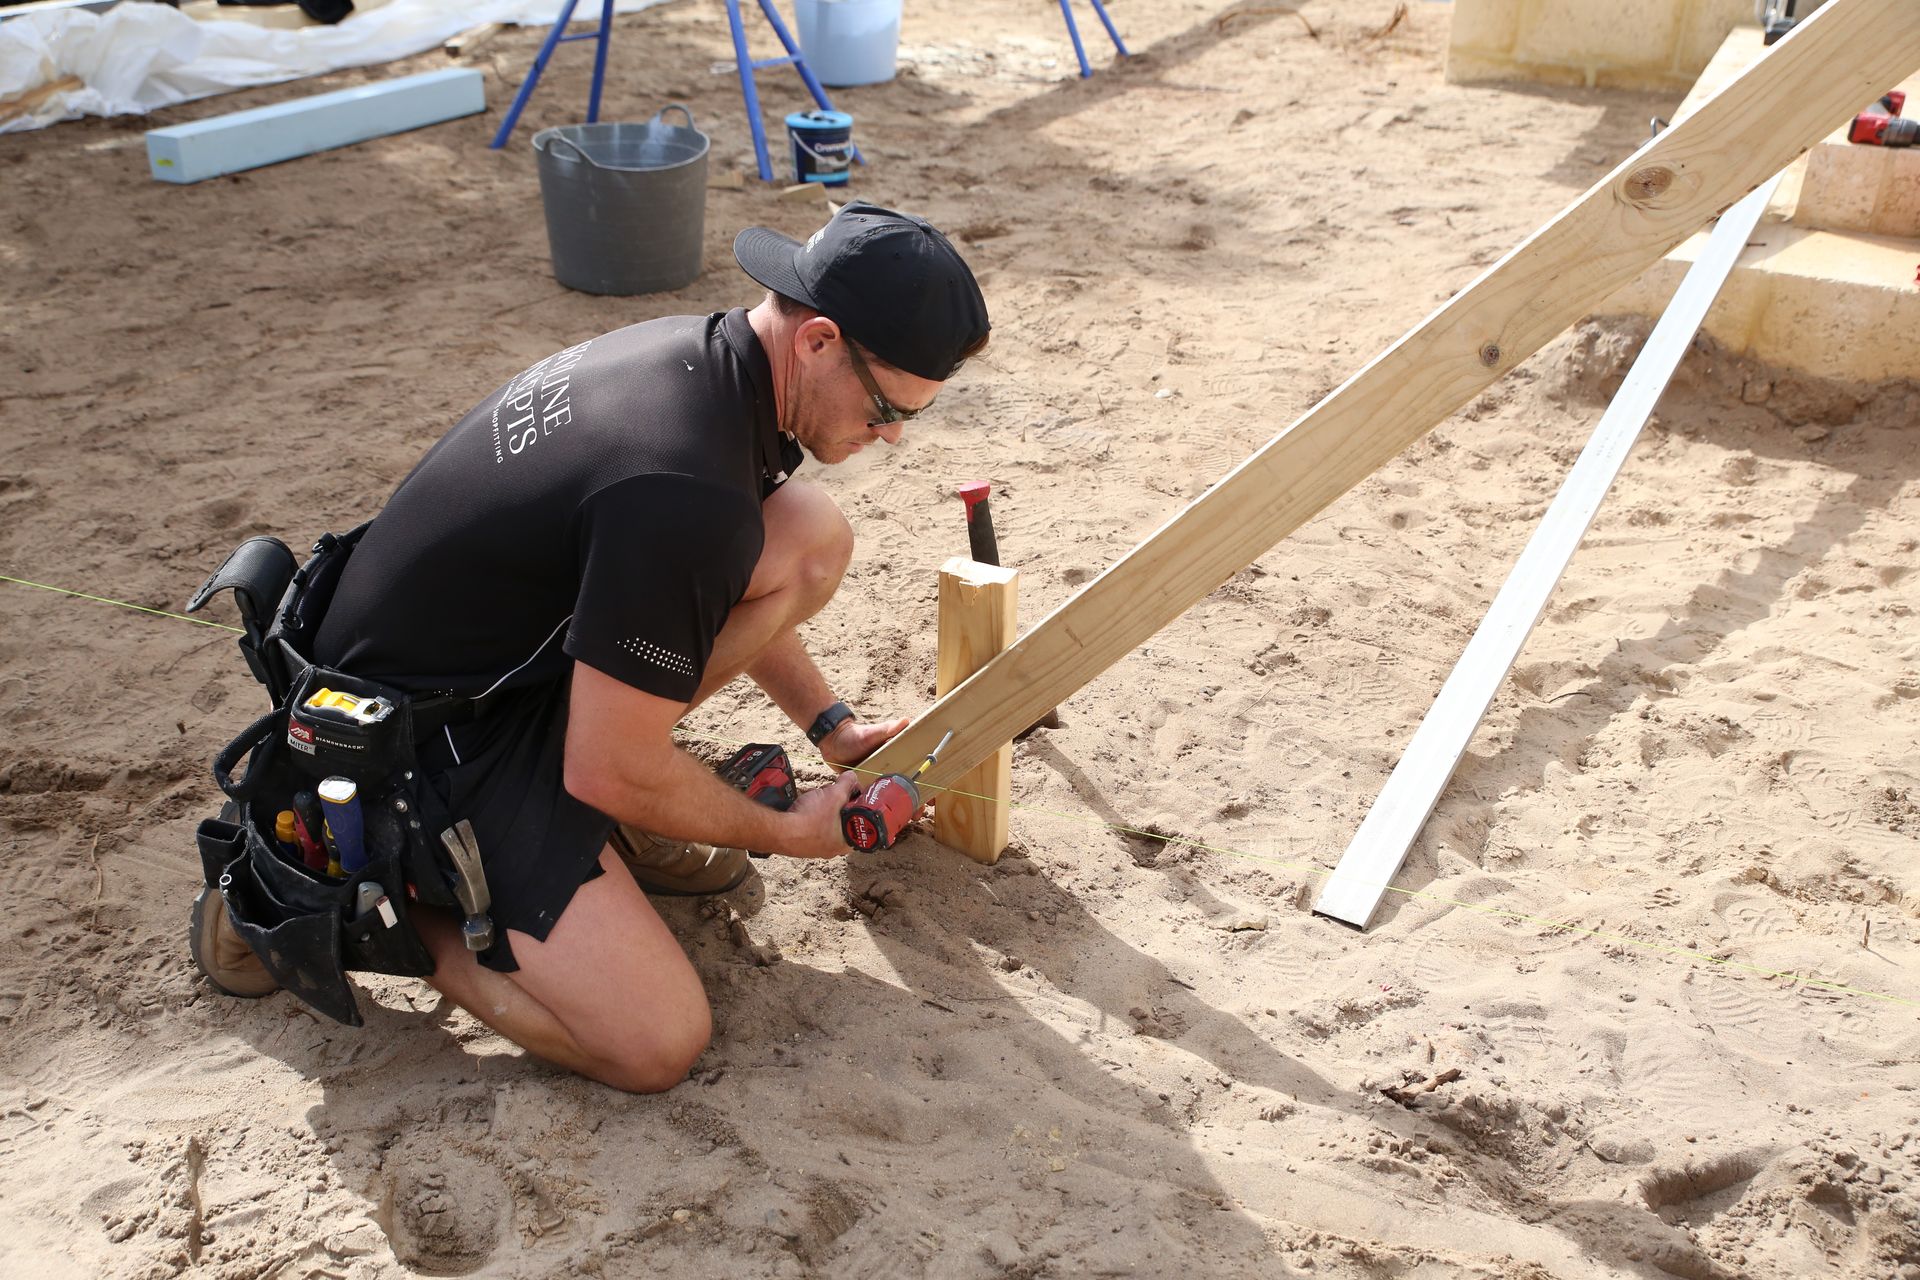
Written by Ben
Ben’s the director of Skyline Concepts and has built his business around client relationships, unbeatable workmanship and competitive pricing. With more than 15 years’ experience under his tool belt, Ben explains every detail to his clients to ensure they enjoy a stress-free renovation experience.